How To Can Food: A Beginner’s Guide to Canning
How to can food, you may be wondering. With all the talk of summer fruits newly arriving, canning is a topic for many. I hope these canning instructions are helpful for you. If you want our best in canning kits for beginners, find it here.
Pressure Canner? Pressure Cooker? It’s all so intimidating!
For those new to canning, it’s hard to know where to start. However, these kitchen tools are essential for safely preserving low-acid foods like vegetables, meats, and soups. In this article, I hope to share some tips for beginners so you can easily and safely employ these and other canning methods for your own use.
And don’t forget to follow the recipe!!
For those just starting out with canning, there are a few tips to keep in mind. First and foremost, always follow a trusted recipe and don’t try to modify it. Be sure to properly prepare your jars and lids, and always use new lids to ensure a proper seal. And most importantly, don’t be afraid to ask for help or advice from more experienced canners. With a little practice and the right tools, anyone can become a successful canner.
The Pressure Canner: A Kitchen Superhero

When it comes to preserving food, the pressure canner is a true kitchen superhero. This mighty appliance can transform fresh produce into long-lasting pantry staples with ease. Whether you’re a seasoned canner or a beginner, a pressure canner lends a POW to your kitchen arsenal.
Not only does the pressure canner make canning faster and more efficient, but it also ensures that your food is safely preserved. The high pressure and temperature created inside the jars by the canner kills off any harmful bacteria. Thus, your canned goods are safe to eat for months (or even years) to come.
But don’t be intimidated by the sound of it; with a little bit of practice and some basic knowledge, anyone can learn to use this powerful tool.
Here are a few tips to get you going:
- Choose the right size: Pressure canners come in a variety of sizes, so make sure to choose one that’s appropriate for your needs. A smaller canner may be sufficient if you’re only canning a few jars at a time, but a larger canner will be necessary if you’re preserving large batches of produce.
- Follow the instructions: It may seem obvious, but it’s important to read and follow the manufacturer’s instructions when using a pressure canner. This will ensure that you’re using the canner safely and effectively.
- Use the right pressure: Different foods require different pressures and processing times to ensure safe preservation. Make sure to consult a trusted canning resource (such as the Ball Blue Book) for specific instructions on processing times and pressures for different types of foods.
- Don’t overfill the jars: When filling your jars with food, make sure to leave the recommended amount of headspace (the space between the top of the food and the top of the jar). Overfilling the jars can lead to improper sealing and spoilage.
- Practice makes perfect so don’t give up!
The Takeaway…
In conclusion, the pressure canner is super helpful. With a little bit of knowledge and practice, anyone can learn to use it.
Pressure Cooker vs. Pressure Canner: The Ultimate Showdown
I’ve written more about the Pressure canner than cooker, so what’s the difference?
Pressure Cooker; Canning 101
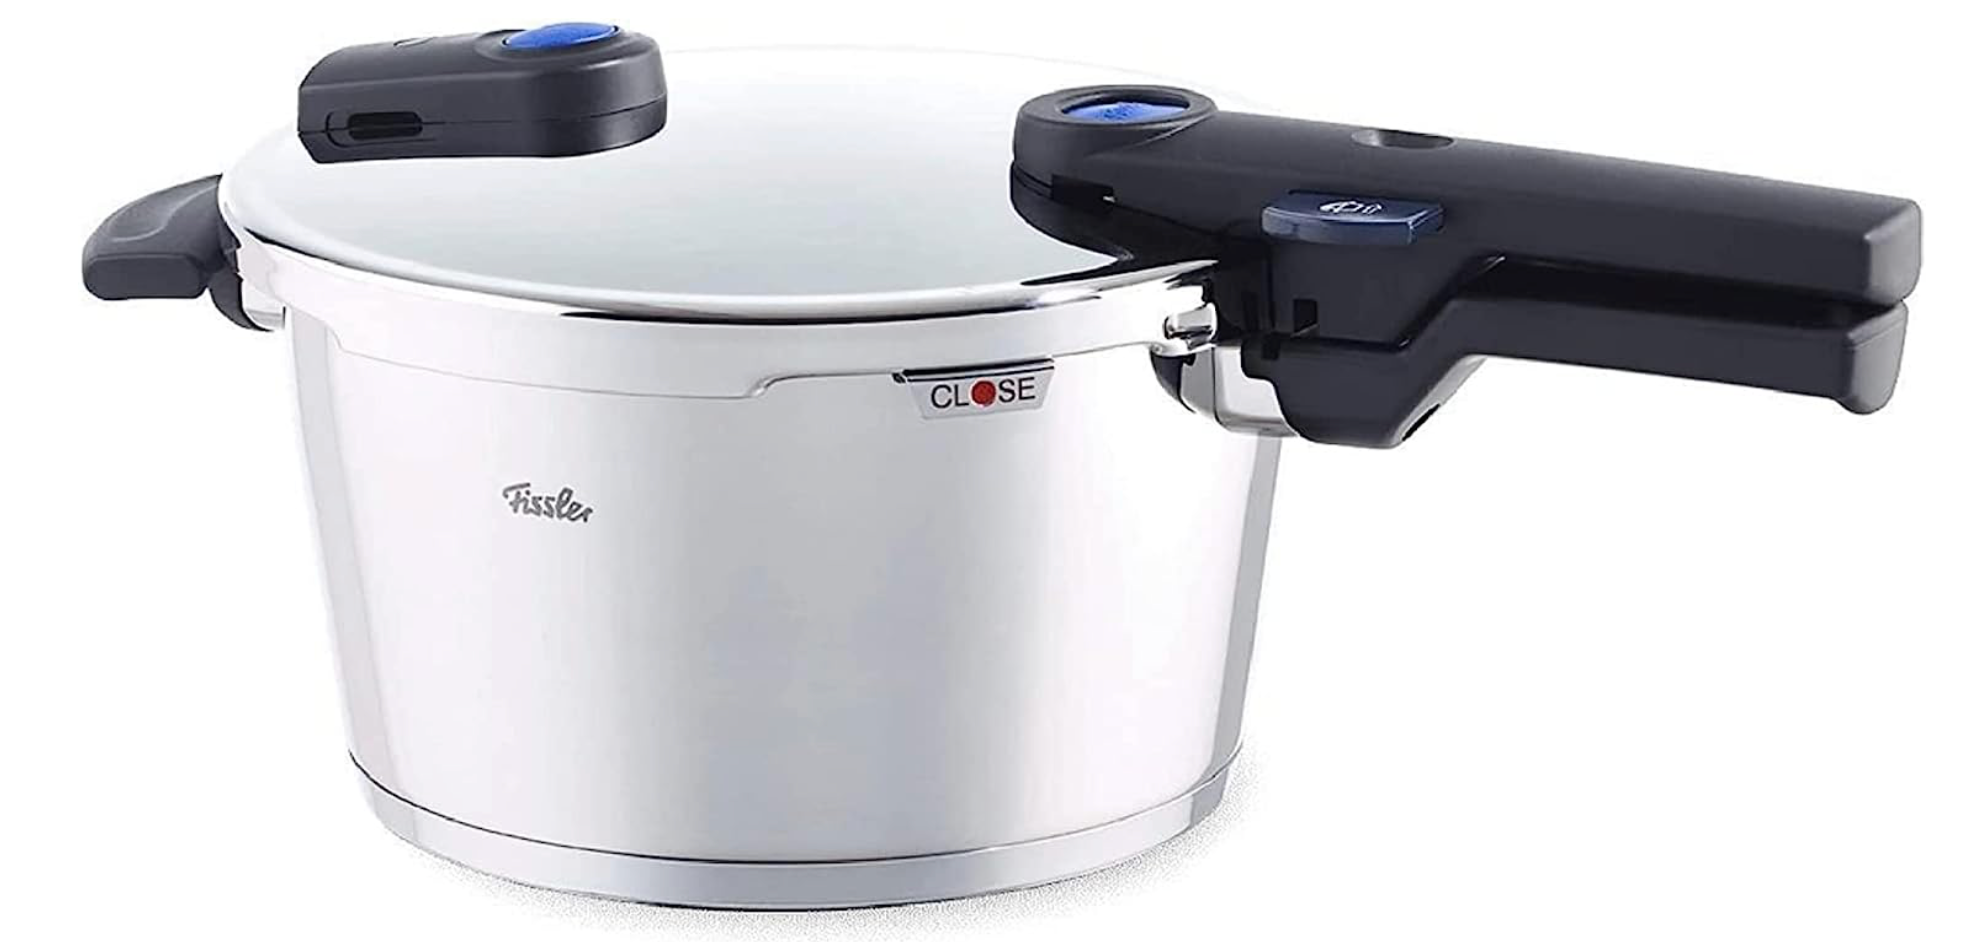
A pressure cooker is a versatile kitchen tool that can be used for a variety of cooking tasks, such as steaming vegetables, cooking rice, or making stews. It works by trapping steam inside a sealed pot, which increases the pressure and raises the boiling point of water. This allows food to cook faster and more evenly than traditional cooking methods.
However, when it comes to canning, a pressure cooker has its limitations. It is only suitable for canning high-acid foods, such as fruits, pickles green beans, and tomato sauce. This is because the high acidity level prevents the growth of harmful bacteria that can cause foodborne illness.
Pressure Canner; Canning 101
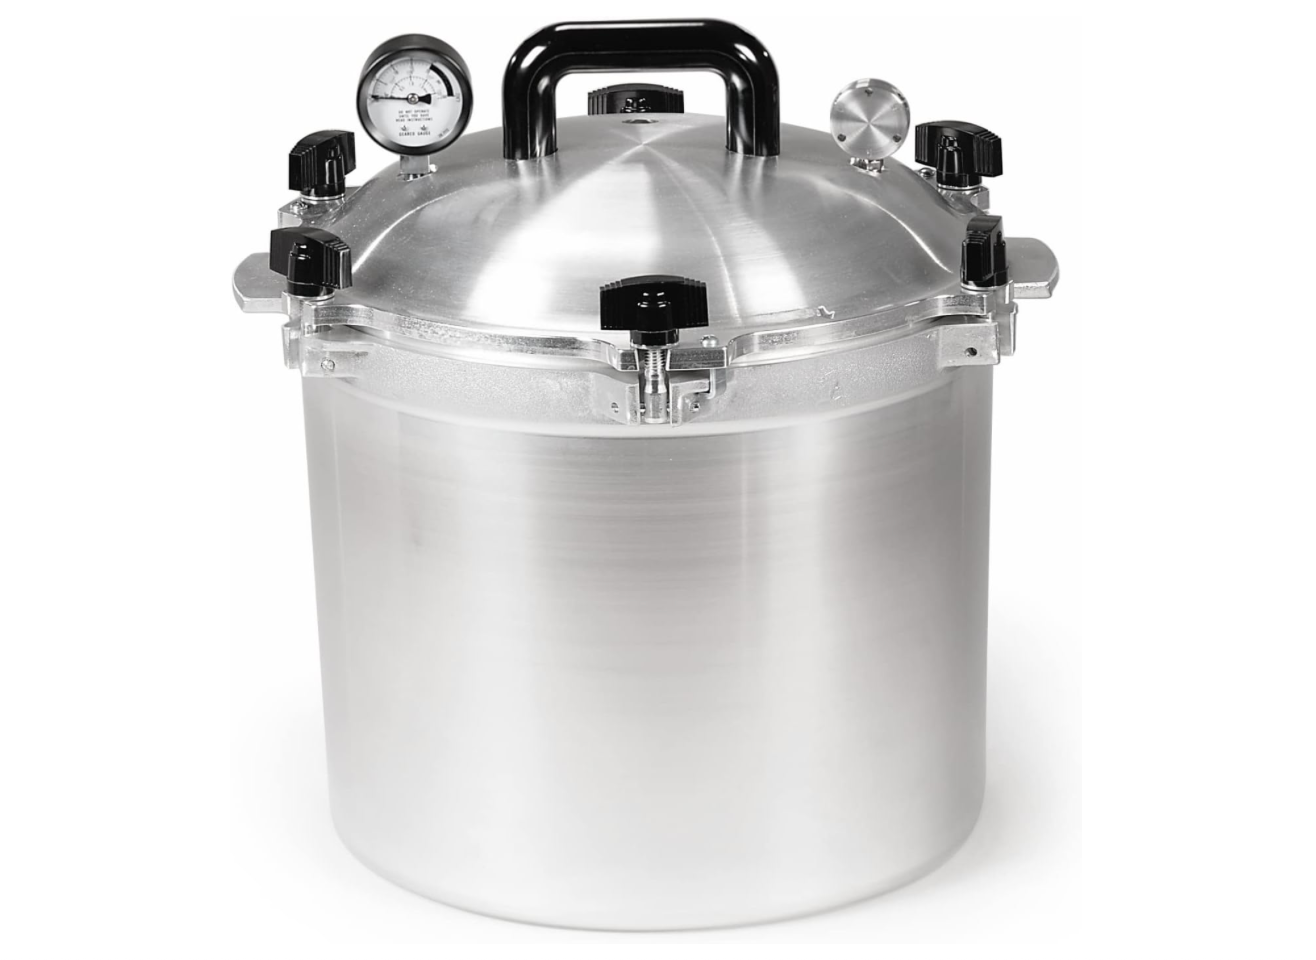
A pressure canner, on the other hand, is specifically designed for canning low-acid foods, such as meats, vegetables, and soups. It operates at a higher pressure and temperature than a pressure cooker, which is necessary to kill off any harmful bacteria that may be present in the food.
A pressure canner is a larger and more specialized appliance than a pressure cooker, and it can be more expensive. However, if you plan on canning low-acid foods, it is a necessary investment to ensure the safety of your canned goods.
The Verdict
In the end, the choice between a pressure cooker and a pressure canner depends on what you plan on canning. If you’re just getting started with canning and only plan on canning high-acid foods, a pressure cooker may be sufficient. However, if you plan on canning low-acid foods, a pressure canner is a must-have tool.
Remember, safety should always be your top priority when it comes to home food preservation and canning. Make sure to follow proper canning procedures and use the appropriate equipment for the type of food you’re canning.
But wait, there’s another option on the table…
Electric Canners: The Future is Now
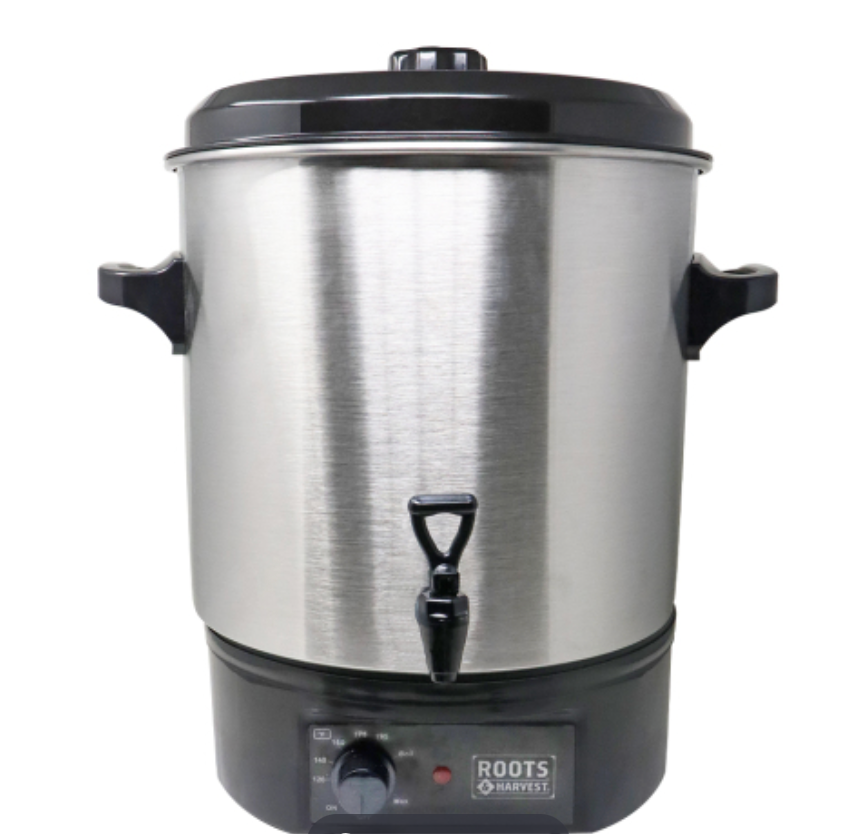
This Electric Bath Canner is made from Roots and Harvest and retails for $159.99
While traditional stovetop pressure canners can be daunting, electric pressure canners are much easier to use. These canners have built-in safety features that prevent the pressure from getting too high and causing an explosion. They also have digital displays that make it easy to monitor the pressure and temperature throughout the canning process.
Electric canners have revolutionized the canning game. No longer do you need to worry about monitoring the pressure and temperature of your canner. Electric canners do all the work for you, leaving you free to do other things like watch Netflix or take a nap.
The Pros of Electric Canning
Electric canners have many advantages over traditional stovetop canning. For one, they are much easier to use. Simply plug it in, add your jars, and press a button. The canner will do the rest. No more worrying about whether you’re doing it right or not.
Another advantage is that electric canners are much safer than stovetop canners. They have built-in safety features that prevent the canner from overheating or exploding. This means you can leave your canner unattended without worrying about it.
Finally, electric canners are much more energy-efficient than stovetop canners. They use less energy to maintain the pressure and temperature, which means you save money on your electricity bill.
The Cons of Electric Canning
Of course, electric canners are not perfect. One drawback is that they are more expensive than stovetop canners. However, the convenience and safety features may be worth the extra cost.
Another disadvantage is that electric canners are not as versatile as stovetop canners. You can only use them for canning, whereas stovetop canners can also be used for cooking and boiling water.
Finally, some people argue that electric canners don’t produce the same quality of food as stovetop canners. However, this is a matter of personal preference and may not be a concern for everyone.
In conclusion, electric canners are a great option for beginner canners or those who want to make the canning process easier and more convenient. However, they may not be the best choice for everyone.
Canning 101: Tips for Beginners
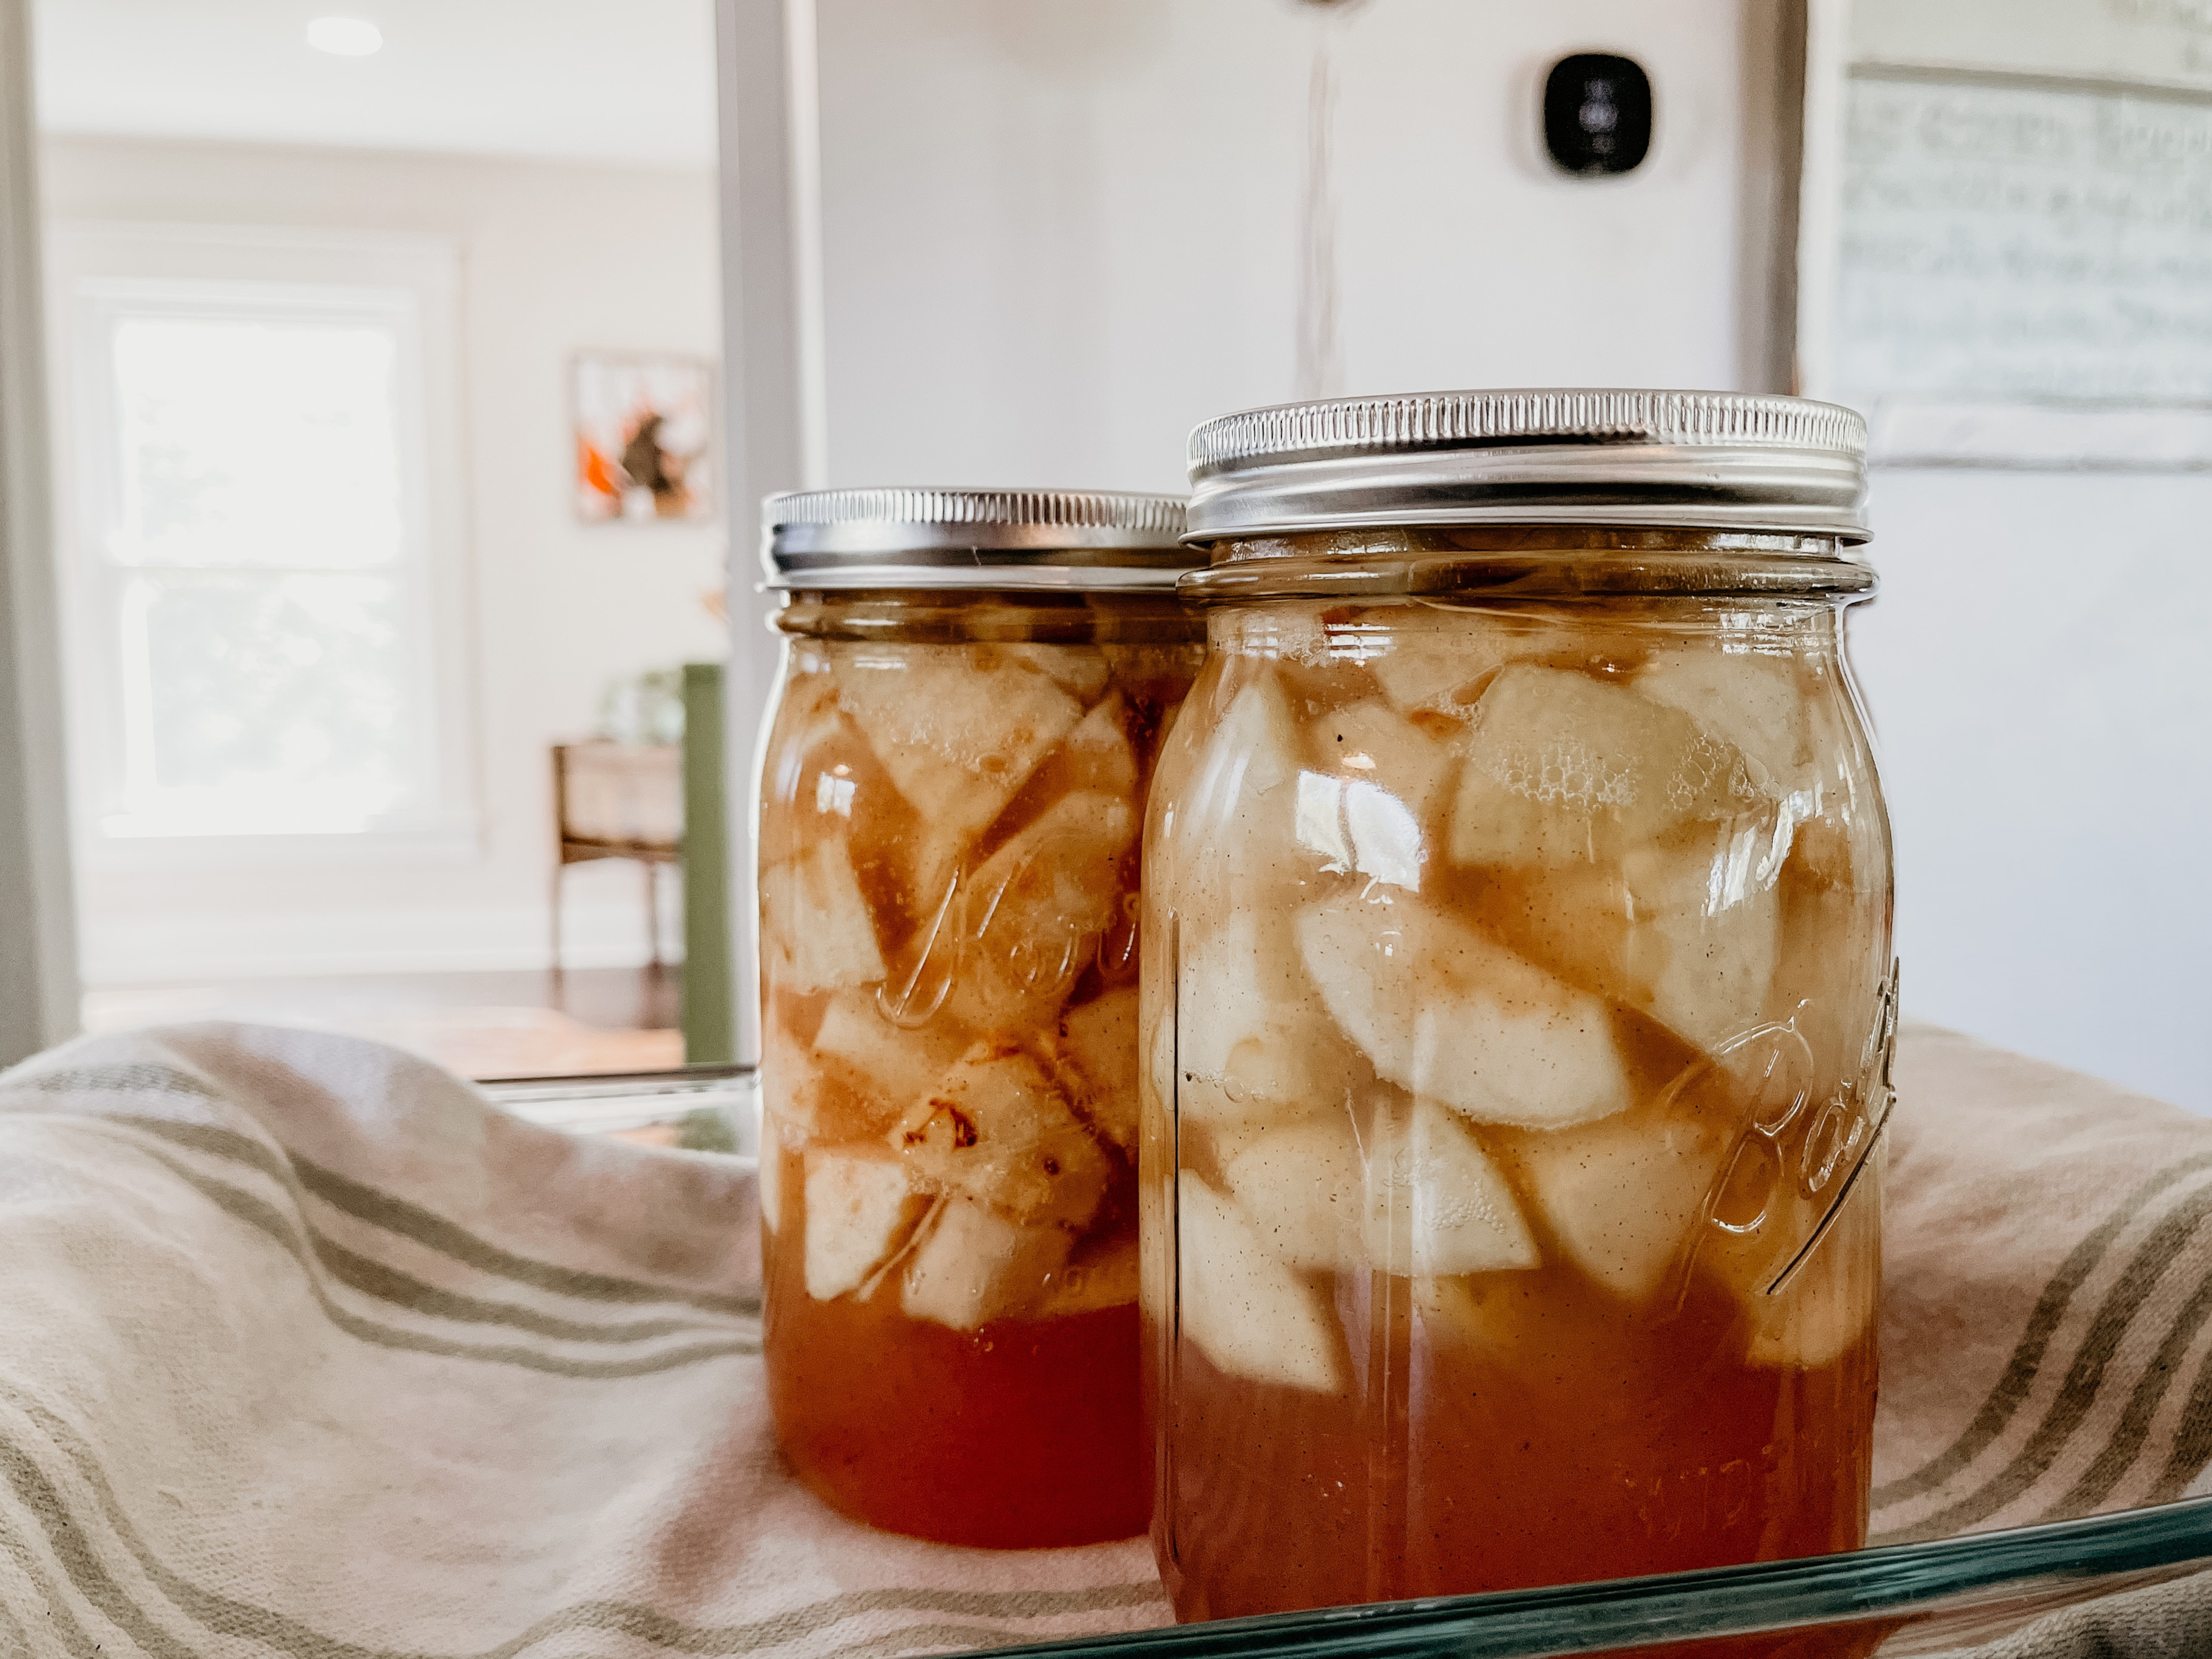
Canning can be a fun and rewarding hobby, but it can also be intimidating for beginners. Here are some tips to get you started on your canning journey.
Choosing Your First Canning Project
When it comes to choosing your first canning project, it’s important to start with something simple. Pick a recipe that has few ingredients and a short processing time. This will help you get a feel for the canning process without overwhelming you with too many steps.
Some good options for beginners include pickles, jams, and salsa. These recipes are relatively easy to follow and don’t require any special equipment.
The Art of Sterilization
Sterilization is a key part of the canning process. It’s important to make sure that water bath canning and all of your equipment and jars are properly sterilized to prevent the growth of harmful bacteria.
To sterilize your glass jars again, wash them in hot, soapy water and rinse them thoroughly. Then, place them in a large pot of boiling water and boil for 10 minutes. Remove the jars from the hot water, and let them air dry.
The Importance of Timing
Timing is everything when it comes to canning. It’s important to follow the canning recipe instructions carefully and process your jars for the correct amount of time.
Under-processing can lead to spoilage, while over-processing can cause the food to become mushy and lose its flavor. Make sure to use a reliable timer and keep a close eye on the processing time.
With these tips in mind, you’re ready to start your canning journey. Remember to start small, sterilize your equipment, and keep a close eye on the timing. Happy canning!
Common Canning Mistakes: Don’t Let This Be You
Canning can be a fun and rewarding experience, but it’s important to avoid common mistakes that can ruin your hard work. Here are some tips to help you avoid the most common canning mistakes:
1. Not Following the Recipe
One of the most common mistakes beginners make is not following the recipe. It’s important to follow the recipe exactly, including the measurements, processing times, and recommended pressure levels. Don’t try to improvise or make substitutions unless you’re an experienced canner.
2. Overfilling the Jars
Another common mistake is overfilling the jars. It’s important to leave enough headspace in the jar to seal properly allow for expansion during processing. Overfilled jars can also lead to leaks and seal failures.
3. Underprocessing the Jars
Underprocessing the jars is another common mistake. It’s important to process the jars for the recommended amount of time to ensure that all the bacteria and other pathogens are killed. Underprocessed jars can lead to spoilage and foodborne illness.
4. Not Checking the Seals
After processing, it’s important to check the seals on the jars. A good seal will be tight and concave, with no visible signs of leakage. If the seal is loose or bulging, the jar should be discarded.
5. Storing Jars Improperly
Finally, storing jars improperly can lead to spoilage and loss of quality. Jars should be stored in a cool, dry place, away from direct sunlight and heat sources. They should also be stored upright, with enough space between them to allow for air circulation.
By following these five tips for beginner canners, you can avoid common canning mistakes and enjoy the fruits of your labor for months to come.
The Science Behind Canning: It’s Not Magic, It’s Physics

At its core, canning is all about the food preservation by creating a sealed environment that prevents the growth of harmful bacteria. This is achieved by heating the food to a high temperature, which kills any bacteria present, and then sealing it in an airtight container to prevent any new bacteria from getting in.
The key to successful canning is understanding the principles of heat transfer. Heat is transferred from the heat source to the food through conduction, convection, and radiation. Conduction is the transfer of heat through direct contact, like when you put a pot on a stove. Convection is the transfer of heat through a fluid, like when you boil water. Radiation is the transfer of heat through electromagnetic waves, like when you stand in front of a fire.
When canning, it’s important to ensure that the heat is distributed evenly throughout the food. This is why it’s recommended to use a pressure canner or cooker, which heats the food more quickly and evenly than a regular pot on a stove. Electric canners are also a popular option for canning for beginners, as they are easy to use and come with built-in safety features.
Another important factor to consider when canning is food acidity itself. Low-acid foods, like vegetables and meats, require a higher temperature and pressure to kill bacteria, while high-acid foods, like fruits and pickles, can be safely canned using a boiling water bath method only.
In summary, canning is a fascinating process that relies on the principles of heat transfer and acidity to create a safe and delicious end product. By understanding the science behind the canning method, you can ensure that your canned goods are safe to eat and will last for months or even years to come.
Canning Safety: Because No One Wants a Kitchen Explosion
Canning can be a fun and rewarding activity, but it’s important to remember that safety always comes first. After all, no one wants a kitchen explosion on their hands! Here are a few tips to keep in mind when canning:
- Always follow the instructions: Whether you’re using a pressure canner or an electric canner, it’s important to read and follow the instructions carefully. Don’t try to take shortcuts or improvise – it’s just not worth the risk.
- Use high-quality equipment: Investing in high-quality canning equipment is a must. Cheap or poorly-made equipment can be dangerous and may not work properly, leading to spoiled food or even accidents.
- Keep your workspace clean and organized: A cluttered workspace can lead to accidents, so make sure to keep your canning area clean and organized. This will also help you keep track of your equipment and ingredients.
- Don’t leave your canner unattended: It can be tempting to leave your canner on the stove and go do something else, but this is a big no-no. Always stay close by and keep an eye on your canner while it’s in use.
- Be patient: Canning takes time, and it’s important to be patient. Don’t try to rush the process or cut corners – this can lead to mistakes and accidents.
Remember, canning can be a fun and rewarding activity, but it’s important to take safety seriously. By following these tips, you can enjoy your canned goods without any kitchen explosions!
Advanced Canning Techniques: For the Brave and Bold

For those who have already mastered the basics of canning, it’s time to take things to the next level. These advanced can canning recipes and techniques are not for the faint of heart, but for the brave and bold who are ready to push their canning skills to the limit.
Pickling
Pickling is a fun and flavorful way to preserve fruits and vegetables. It involves soaking the produce in a mixture of vinegar, water, salt, and spices to create a tangy and crunchy snack.
For those who want to take their pickling skills to the next level, try experimenting with different types of vinegar, spices, and sweeteners. You never know what delicious flavor combinations you might come up with!
Fermenting
Fermenting is a natural way to preserve food that has been used for centuries. It involves adding salt to vegetables to create an environment where beneficial bacteria can thrive and produce lactic acid, which preserves the food and gives it a tangy flavor.
Fermenting can be a bit trickier than other canning techniques, as it requires careful monitoring to ensure that the fermentation process is proceeding as it should. But for those who are up to the challenge, the rewards are well worth it. Not only do fermented foods taste great, but they’re also packed with probiotics that are good for your gut health.
In conclusion, advanced canning techniques are not for the faint of heart, but for those who are ready to take their canning skills to the next level. Whether it’s pressure canning, pickling, or fermenting, there’s always something new to learn and explore in the world of canning. So go forth, brave canners, and may your jars be ever full!
Conclusion: From Beginner to Connoisseur
Now that you know the ins and outs of pressure canners, electric canners, and beginner canning tips, you’re well on your way to becoming a canning connoisseur. With a little practice, you’ll be able to preserve your favorite fruits, vegetables, and meats all year round.
Remember, safety is key when it comes to canning. Always follow the instructions that come with your canner and use tested recipes to ensure your food is properly preserved. Don’t forget to label your canning jars with the date and contents, so you don’t accidentally open a jar of pickles when you were expecting pint jars of peaches.
If you’re just starting out, don’t be intimidated. Canning can seem overwhelming at first, but with a little patience and practice, you’ll be a pro in no time. And if you’re already a seasoned canner, don’t be afraid to try new recipes and techniques to keep things interesting.
Whether you’re canning for practical reasons, like saving money and reducing food waste, stocking up just in case, or for the joy of preserving your own food, there’s something satisfying about opening a jar of homemade goodies that you’ve put time and effort into. So, grab your canner, put on some music, and get ready to become a canning connoisseur!


